Alpha 17b240 Quick Guide to Creating a ‘7 Days To Die’ world from an external image.
The following is a basic guide on how I put together the world BackgroundLife.
A 7 Days To Die game world.
Available for download here:
BackgroundLife - a 7 Days To Die world
The purpose of this project was to prove the viability of taking an arbitrary starting image and create a game world.
First we need to know where the Worlds folder is located. So let’s get there by using the Steam Client:
Steam Client > Games Library > Right-Click 7 Days To Die > Click Properties > Click Local Files Tab > Click Browse Local Files > Navigate into the Data Folder > Navigate into the Worlds Folder.
This is the location to which one would extract the BackgroundLife.zip to have the world available for edit or play.
Before we begin let me list the image editing tools in use for my build here:
Paint Shop Pro 9 – modified for Windows 7 to not disable Aero, and Large Address Awareness (thus allowing more memory usage on 64bit machines)
Photoshop CS6 v13 – used for final edits and save of files, including adding the tags to each file and copyright to the dtm.tga, and Red Eagle LXIX to each PNG. Every TGA and PNG file was last saved in this program.
Next we need that 1 starting file. To get that we’re going to start the game and generate a Random World (any size, doesn’t matter 4096 will be fastest).
Next let’s take the file we need and copy it. Navigate into the folder for the newly created world. Find main.ttw and copy it (should be 194 bytes and basically empty).
Go back to the Worlds folder. Create a new folder to hold your custom world. In this case I am going to create a folder called BackgroundLife.
Paste the main.ttw you copied from the Random World into your new world folder.
Obviously if we try starting a game on this new world right now it is going to yell at us as there is almost nothing here.
Next we need to create a map_info.xml that tells the game the basics about our world:
As we can see here I’ve decided to create an 8192x8192 world.
Next to start we’re going to create some basic files we will fill in more completely later:
prefabs.xml:
spawnpoints.xml – I assigned an arbitrary value, the game will spawn player on the surface regardless):
water_info.xml:
At this point we should have 5 files:
main.ttw
map_info.xml
prefabs.xml
spawnpoints.xml
water_info.xml
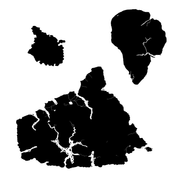
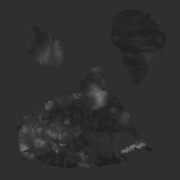
Now for the fun. We need to pick an image that will be the heightmap for our world. This image will define the hills, the valleys, the mountains, the fields.
In this case I chose one people might recognize:
https://steamcdn-a.akamaihd.net/steam/apps/251570/page_bg_generated_v6b.jpg
After some cleanup, cropping, resizing, convert to greyscale, negative image, enhancement, and smoothing via Average and Median smoothing the image ends up like this JPG (50% scaled) -- EDIT: the important bit here is the greyscale (image must be 0-255, black-white only everything else is a matter of preference in world design):
I saved that as dtm.tga
We’re almost ready to load this world but we’re still missing a few bits.
Now for the first of the 2 files that tends to be annoying.
biomes.png
I had originally tried working with ones like those from Navezgane and RWG worlds but kept having issues. Especially when saving from Photoshop.
This worked for me; creating a new biomes.png file the size of my world with no transparency.
There are exactly 5 colors that can be used (any other colors can result in either Void or Biome Generation errors):
COLOR - Biome
#004000 - Forest
#BA00FF - Burnt Forest
#FFA800 - Wasteland
#FFE477 - Desert
#FFFFFF - Snow
50% scaled biomes image:

The other annoying file is splat3.png. This is where our roads and gravel paths live.
For this file I had originally tried dealing with copies of RWG worlds or even creating my own file with transparency. Everything worked fine when adding roads or paths. It was when deleting the road or path from the file, the road would be gone and transparent, but still show in the world.
So again, I tried without transparency, black background. This allows working adding and deleting gravel and asphalt.
This file uses only 3 colors
COLOR - Effect
#000000 - None
#FF0000 - Asphalt
#00FF00 - Gravel
50% scaled splat3
Next we need our radiated border so we need a new file called ‘radiation.png’.
This file should be 1/16 of our map size. So for BackgroundLife I’ll be creating a 512x512 radiation.png
Each pixel will either be RED (#FF0000 radiated) or Black (#000000 normal).
Each pixel will represent approximately a 16x16 area of your full size map.
100% radiation
At this point we should have 9 files:
main.ttw
map_info.xml
prefabs.xml
spawnpoints.xml
water_info.xml
dtm.tga
radiation.png
biomes.png
splat3.png
Do I know if creating new biomes, splat3, and radiation PNG files without transparency was 100% correct way? No. I do know this. Everything worked as I expected when I did this. I got the world I expected and the result expected every time doing it this way.
Right now we have no prefabs in our prefabs.xml and no water in the water_info.xml but we are finally at a point we can load our custom world and see how things look in the World Editor.
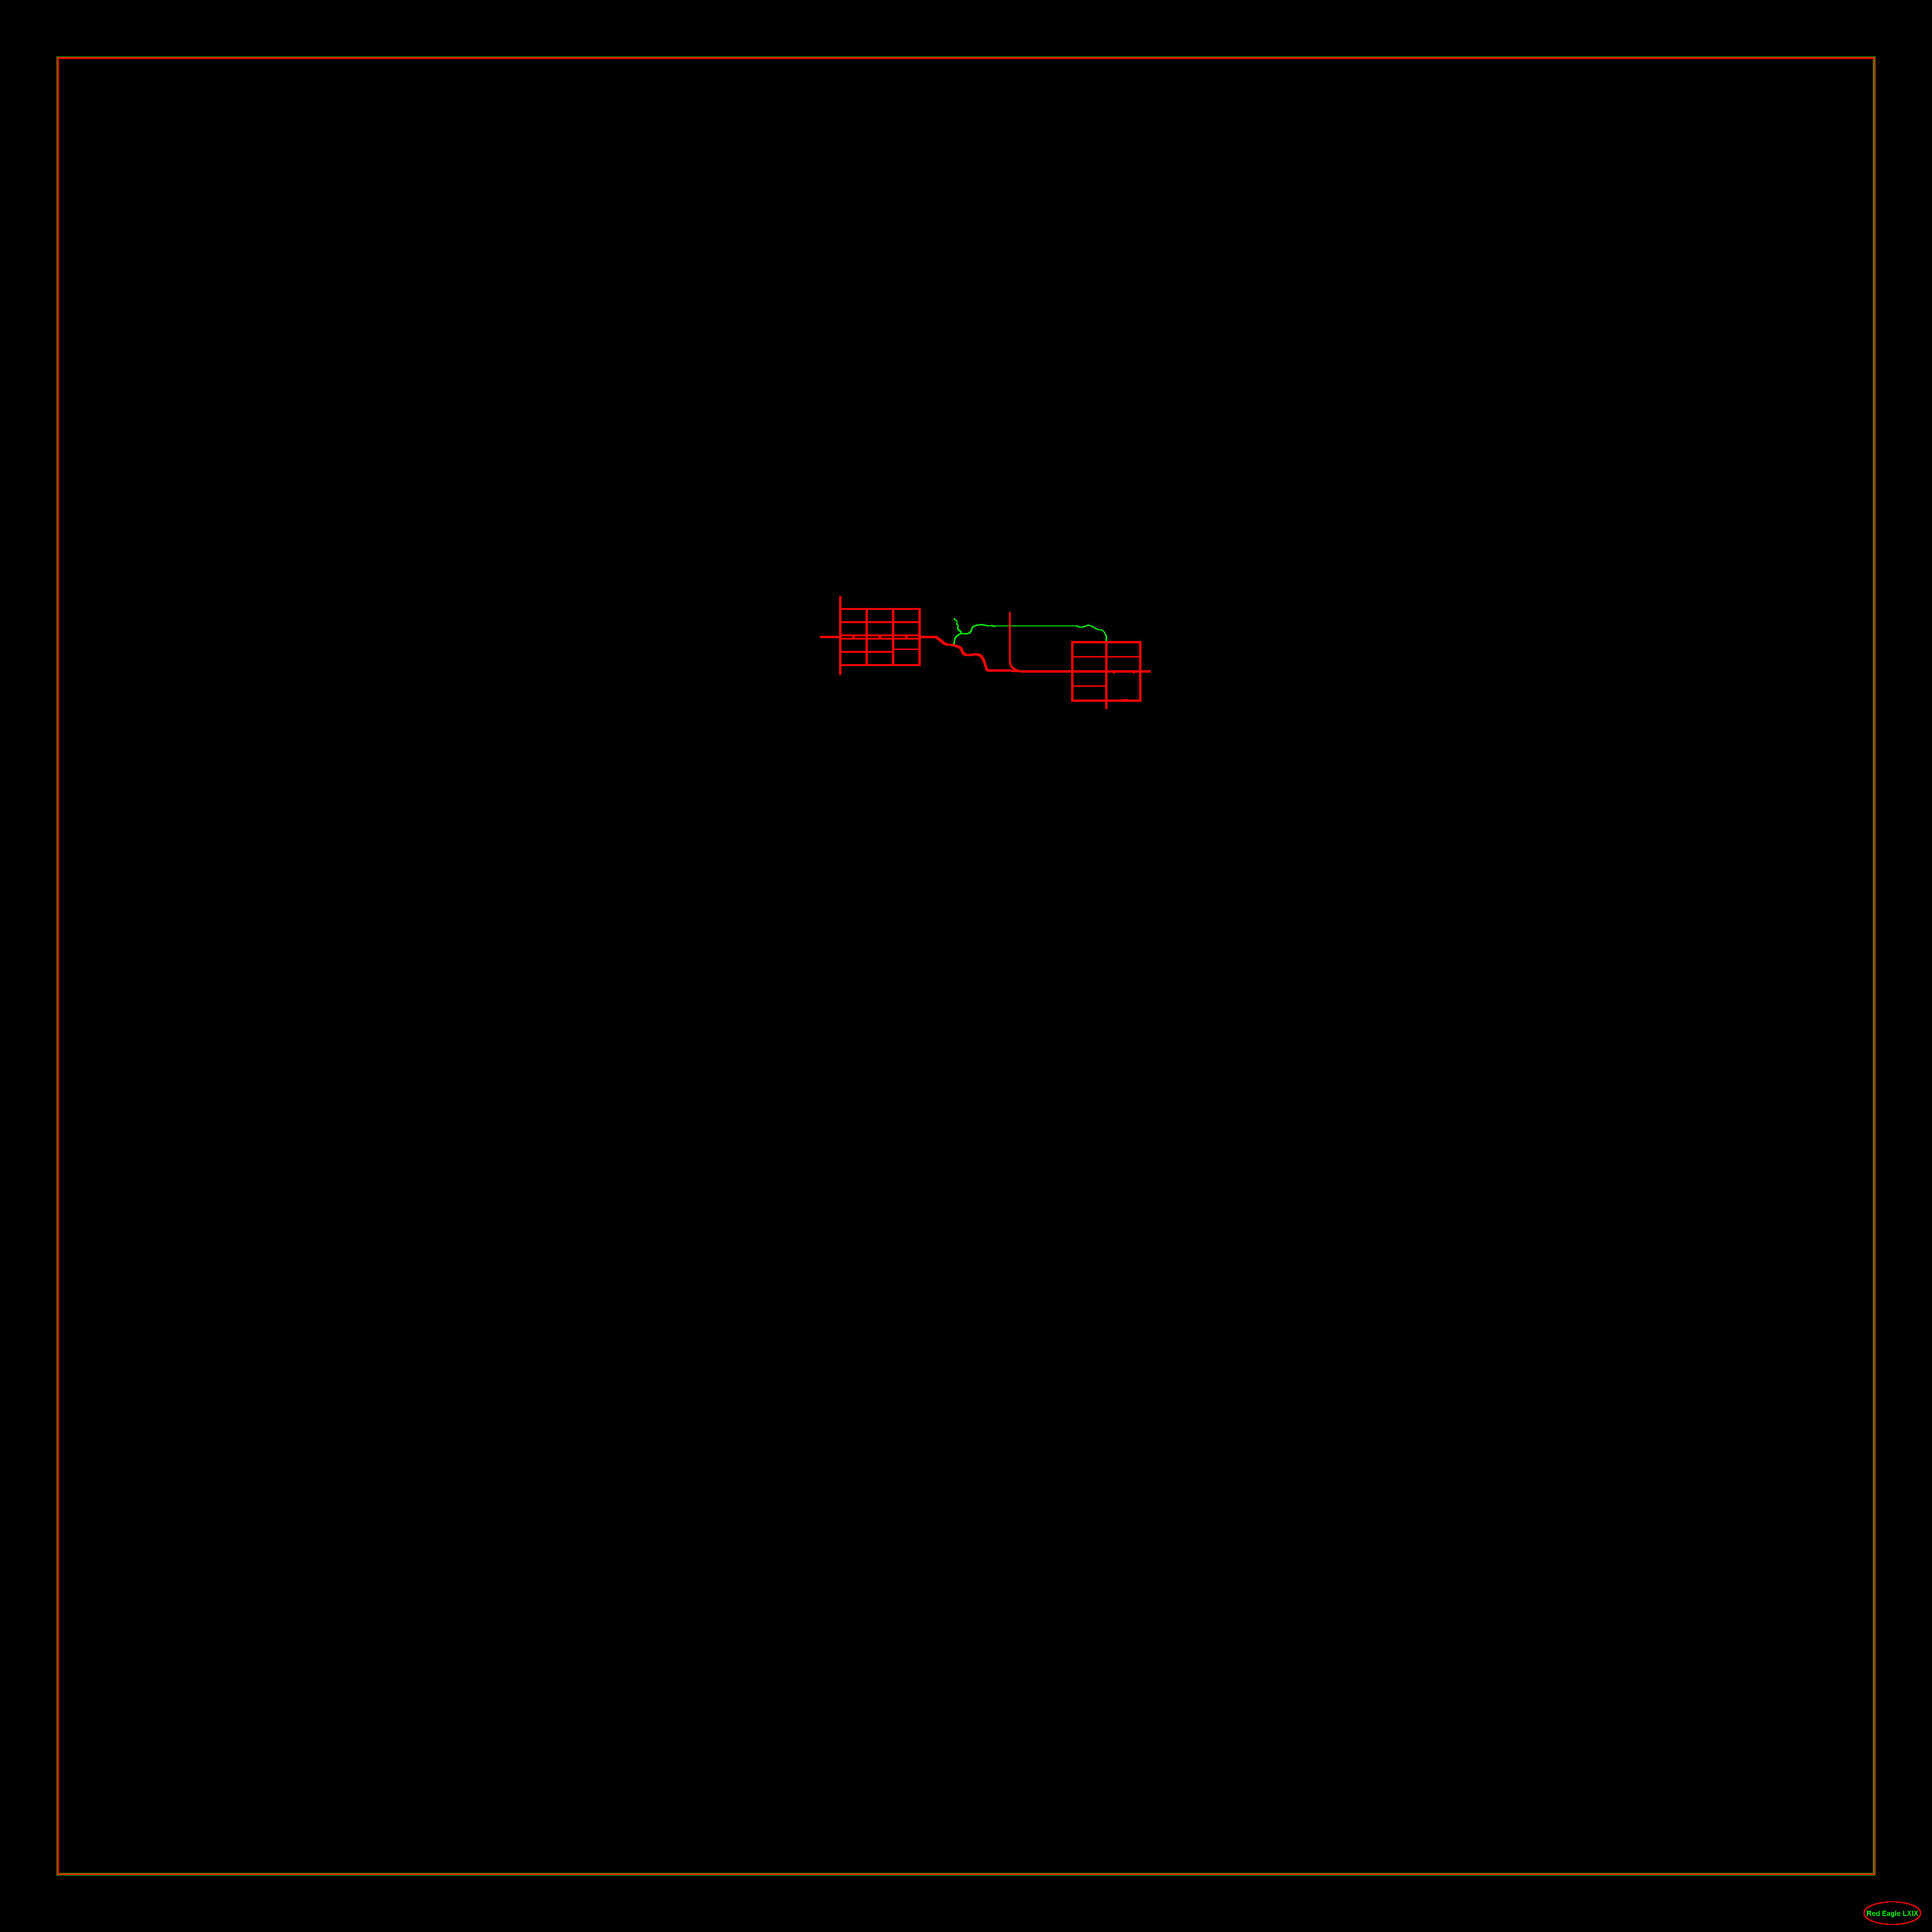
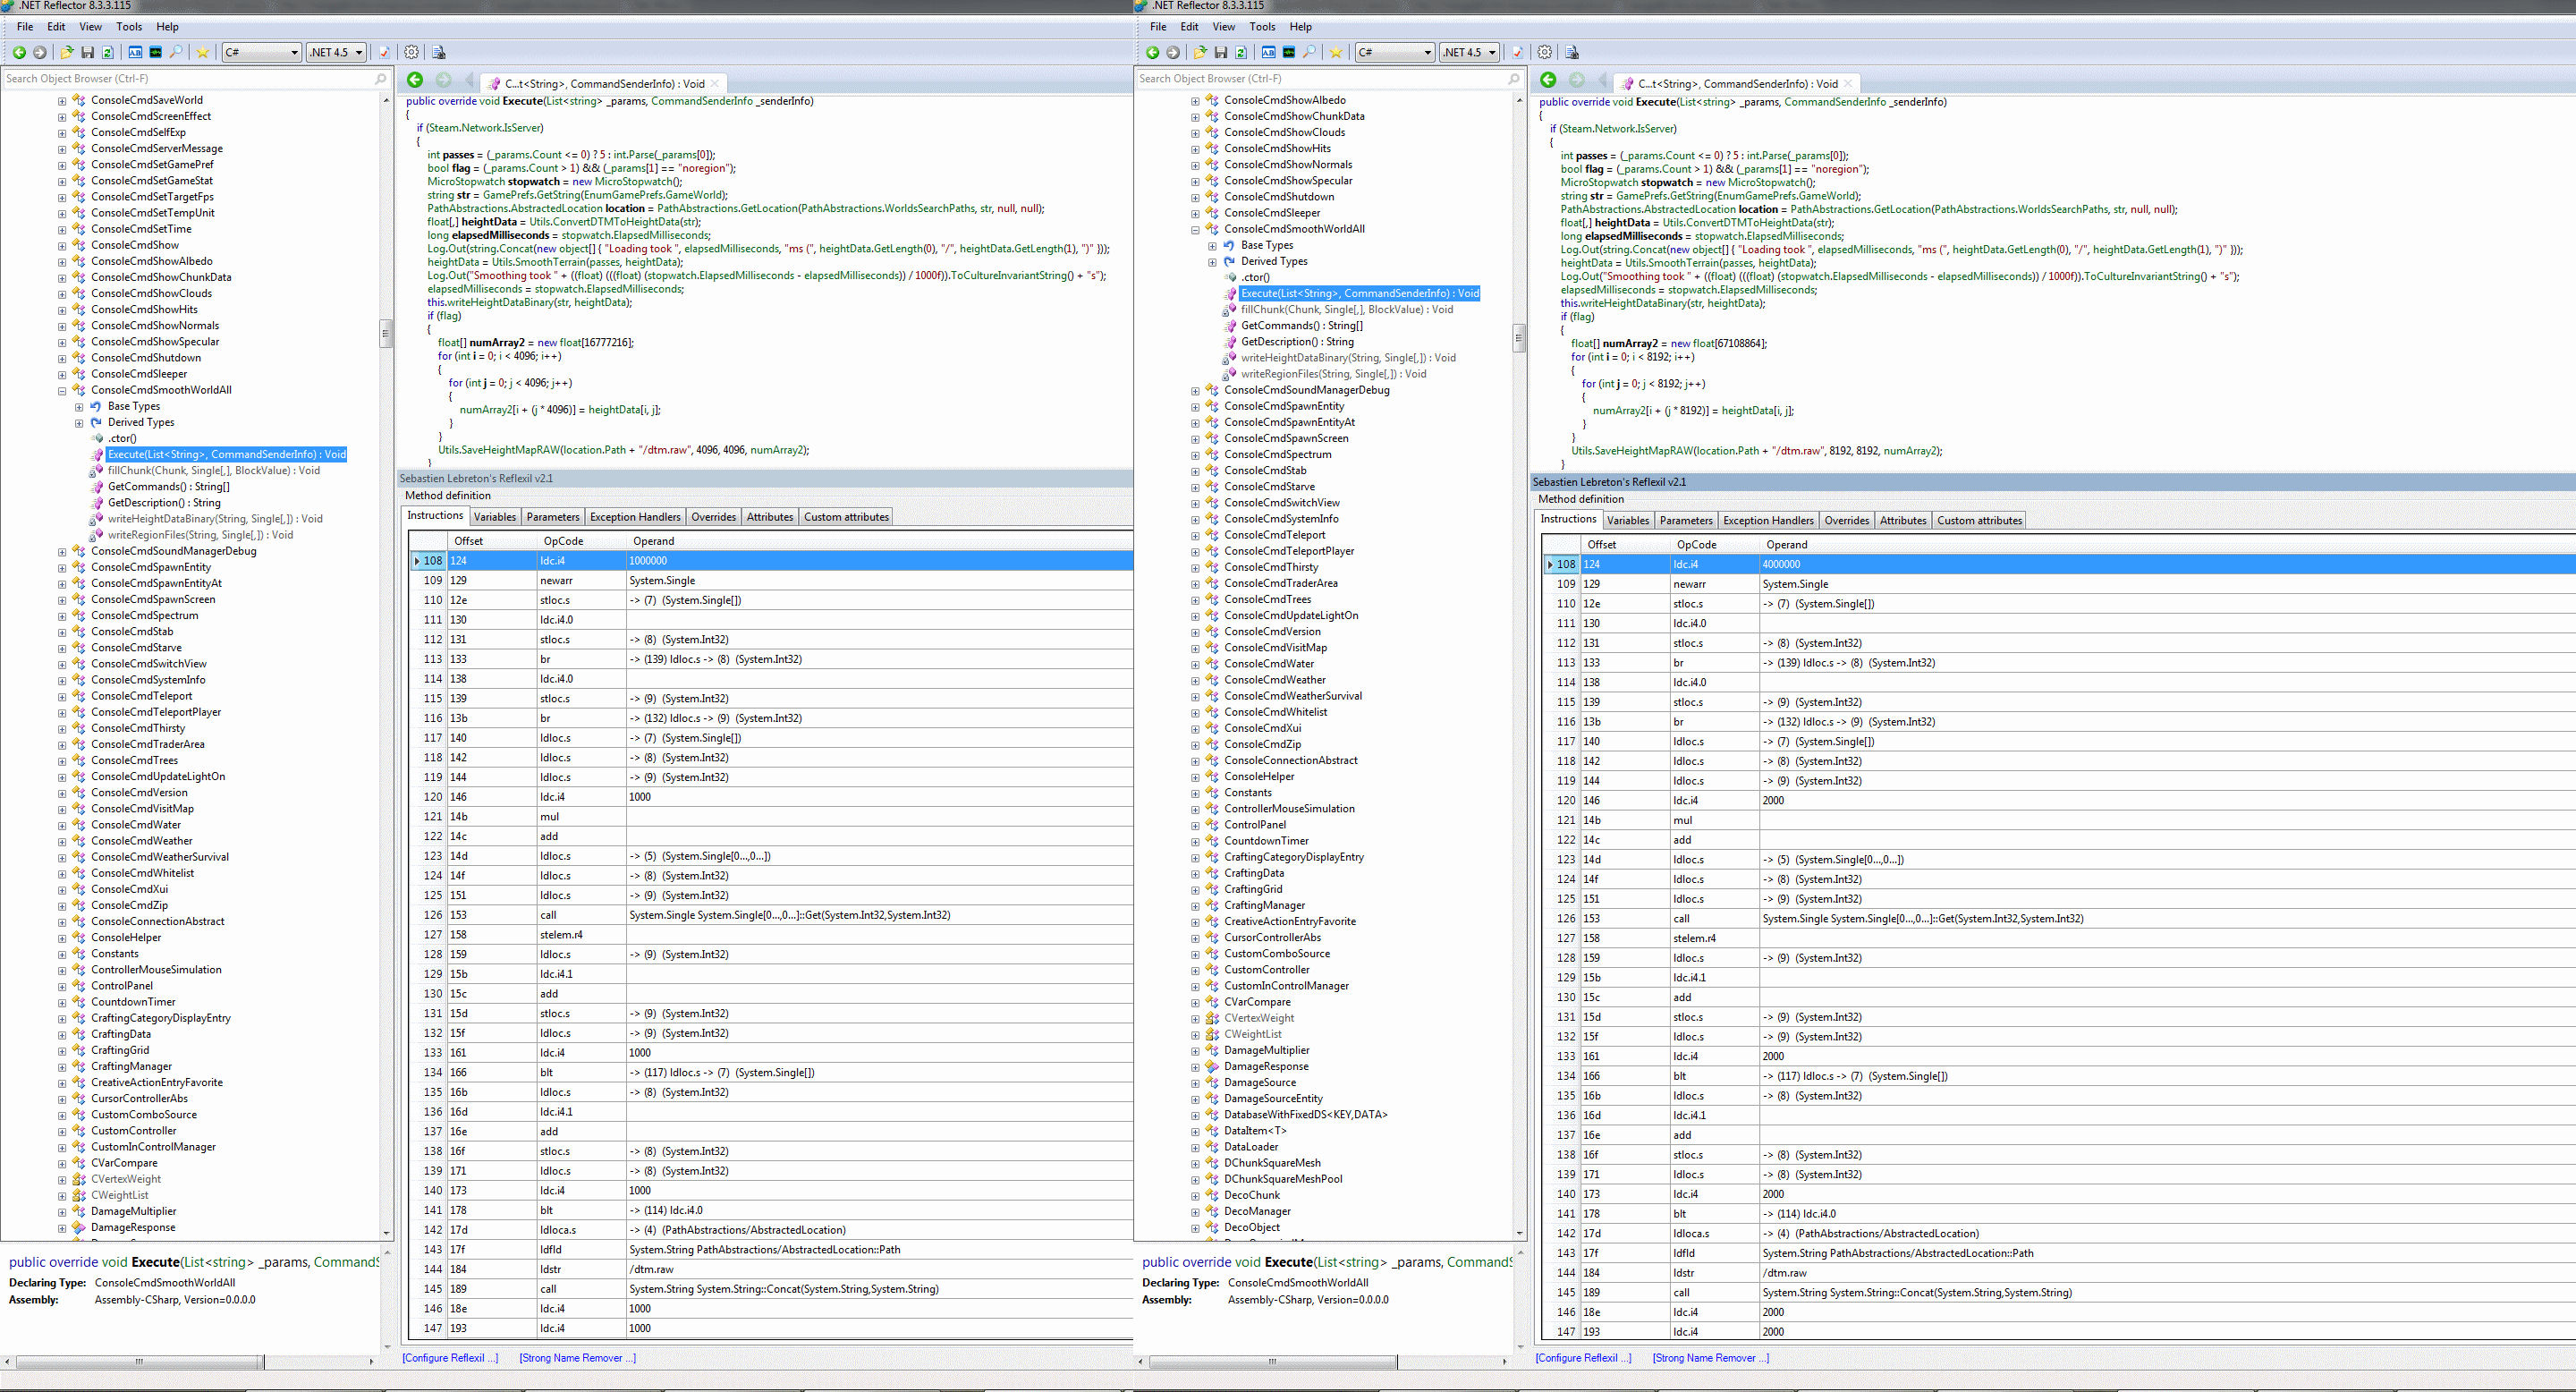
There is currently an issue/bug with the code that SmoothWorldAll assumes a world size of 4096x4096 when using the noregion flag. However we need this to get smooth terrain.
As such I have put together a pack of modified Assembly-CSharp.dll files for different sizes.
The following shows a code compare between Stock 4096 and the Modified 8192:
The following is a basic guide on how I put together the world BackgroundLife.
A 7 Days To Die game world.
Available for download here:
BackgroundLife - a 7 Days To Die world
The purpose of this project was to prove the viability of taking an arbitrary starting image and create a game world.
First we need to know where the Worlds folder is located. So let’s get there by using the Steam Client:
Steam Client > Games Library > Right-Click 7 Days To Die > Click Properties > Click Local Files Tab > Click Browse Local Files > Navigate into the Data Folder > Navigate into the Worlds Folder.
This is the location to which one would extract the BackgroundLife.zip to have the world available for edit or play.
Before we begin let me list the image editing tools in use for my build here:
Paint Shop Pro 9 – modified for Windows 7 to not disable Aero, and Large Address Awareness (thus allowing more memory usage on 64bit machines)
Photoshop CS6 v13 – used for final edits and save of files, including adding the tags to each file and copyright to the dtm.tga, and Red Eagle LXIX to each PNG. Every TGA and PNG file was last saved in this program.
Next we need that 1 starting file. To get that we’re going to start the game and generate a Random World (any size, doesn’t matter 4096 will be fastest).
Next let’s take the file we need and copy it. Navigate into the folder for the newly created world. Find main.ttw and copy it (should be 194 bytes and basically empty).
Go back to the Worlds folder. Create a new folder to hold your custom world. In this case I am going to create a folder called BackgroundLife.
Paste the main.ttw you copied from the Random World into your new world folder.
Obviously if we try starting a game on this new world right now it is going to yell at us as there is almost nothing here.
Next we need to create a map_info.xml that tells the game the basics about our world:
Code:
<?xml version="1.0" encoding="UTF-8"?>
<MapInfo>
   <property name="Name"		value="Background Life"/> <!-- Left over property may not be used anymore -->
   <property name="Scale" value="1" />  <!-- not tested, believe how it maps the images to the world for all but radiation -->
   <property name="HeightMapSize" value="8192,8192" />  <!-- Size of the world.  MUST be Square to use smoothworldall due to math -->
   <property name="Modes" value="Survival,SurvivalSP,SurvivalMP,Creative" />  <!-- Game modes allowed to use the world -->
   <property name="FixedWaterLevel" value="false" />  <!-- should there be a fixed height to generate water - UNTESTED -->
   <property name="RandomGeneratedWorld" value="false" />  <!-- Used by RWG to check if RWG has already made a map that came out to same name -->
   <property name="Description" value="Living life in or on the background is never fun." />  <!-- This may have to be a key to localization text, a left over as even for Navezgane, not used anymore -->
</MapInfo>Next to start we’re going to create some basic files we will fill in more completely later:
prefabs.xml:
Code:
<?xml version="1.0" encoding="UTF-8"?>
<prefabs>
</prefabs>
Code:
<?xml version="1.0" encoding="UTF-8"?>
<spawnpoints>
   <spawnpoint position="0,251,0" rotation="0,0,0"/>
</spawnpoints>
Code:
<WaterSources>
</WaterSources>main.ttw
map_info.xml
prefabs.xml
spawnpoints.xml
water_info.xml
Now for the fun. We need to pick an image that will be the heightmap for our world. This image will define the hills, the valleys, the mountains, the fields.
In this case I chose one people might recognize:
https://steamcdn-a.akamaihd.net/steam/apps/251570/page_bg_generated_v6b.jpg
After some cleanup, cropping, resizing, convert to greyscale, negative image, enhancement, and smoothing via Average and Median smoothing the image ends up like this JPG (50% scaled) -- EDIT: the important bit here is the greyscale (image must be 0-255, black-white only everything else is a matter of preference in world design):
I saved that as dtm.tga
We’re almost ready to load this world but we’re still missing a few bits.
Now for the first of the 2 files that tends to be annoying.
biomes.png
I had originally tried working with ones like those from Navezgane and RWG worlds but kept having issues. Especially when saving from Photoshop.
This worked for me; creating a new biomes.png file the size of my world with no transparency.
There are exactly 5 colors that can be used (any other colors can result in either Void or Biome Generation errors):
COLOR - Biome
#004000 - Forest
#BA00FF - Burnt Forest
#FFA800 - Wasteland
#FFE477 - Desert
#FFFFFF - Snow
50% scaled biomes image:
The other annoying file is splat3.png. This is where our roads and gravel paths live.
For this file I had originally tried dealing with copies of RWG worlds or even creating my own file with transparency. Everything worked fine when adding roads or paths. It was when deleting the road or path from the file, the road would be gone and transparent, but still show in the world.
So again, I tried without transparency, black background. This allows working adding and deleting gravel and asphalt.
This file uses only 3 colors
COLOR - Effect
#000000 - None
#FF0000 - Asphalt
#00FF00 - Gravel
50% scaled splat3
Next we need our radiated border so we need a new file called ‘radiation.png’.
This file should be 1/16 of our map size. So for BackgroundLife I’ll be creating a 512x512 radiation.png
Each pixel will either be RED (#FF0000 radiated) or Black (#000000 normal).
Each pixel will represent approximately a 16x16 area of your full size map.
100% radiation
At this point we should have 9 files:
main.ttw
map_info.xml
prefabs.xml
spawnpoints.xml
water_info.xml
dtm.tga
radiation.png
biomes.png
splat3.png
Do I know if creating new biomes, splat3, and radiation PNG files without transparency was 100% correct way? No. I do know this. Everything worked as I expected when I did this. I got the world I expected and the result expected every time doing it this way.
Right now we have no prefabs in our prefabs.xml and no water in the water_info.xml but we are finally at a point we can load our custom world and see how things look in the World Editor.
There is currently an issue/bug with the code that SmoothWorldAll assumes a world size of 4096x4096 when using the noregion flag. However we need this to get smooth terrain.
As such I have put together a pack of modified Assembly-CSharp.dll files for different sizes.
The following shows a code compare between Stock 4096 and the Modified 8192:
Last edited by a moderator:


")


")